DISCLAIMER:
This is a basic (DETAILED) guide for beginners.
However, I expect everyone to know how to get yourself your own copy of Photoshop and understand the basic navigation
through the windows in Photoshop itself.
This Guide separated into 8 distinctive parts:
0. Introductions
1. Basic set-up & cleaning the template.
2. Adding color to the custom shirt
3. Adding texture to increase quality
4. Adding personal Logo/Images
5. Watermarking
6. Finishing up & saving the file
7. Final words
Lets get started!
----------------------------------------------------------------------------------------------------------------------------------
0. Introductions
Hello everyone! Island here!
Some of you may know me from other community sites.
But most of you have no idea who I am.
I am currently working with a Designer Guild community in KMS2 called MSG.
But you're not really here to get to know me are you?
You're here for the guide!
This guide will help you understand the basic concepts on creating a
User-Generated Content in Maplestory 2.
(I will be referring it as UGC here on out.)
In the Maplestory 2 world, UGC is a term used to describe
user created “skinned” or “mapped” content. (If we are being technical)
Nexon simply calls it: Outfit Designing.
I will be covering the basic fundamentals one should know to ease the creation process.
If you have no prior knowledge regarding custom mapping, don’t worry!
This is the "Creating UGC with Photoshop" guide for Maplestory 2.
(Detailed Beginner's Edition)
For this tutorial, we will be creating a brand new, never-before seen,
your very own, custom design.
First we will need a basic template.
You can find the templates on many community sites.
If you want everything that's been released so far from OBT and CBT,
there is a post regarding that in my blog, provided by OrangeMushroom.
(You can find my blog in my profile page or my signature.)
For the sake of this tutorial, I will be creating an
Island Design brand shirt, using the T-Shirt (M) template.
The templates looks something like this:

----------------------------------------------------------------------------------------------------------------------------------
1. Basic set-up & cleaning the template.Some of you may know me from other community sites.
But most of you have no idea who I am.
I am currently working with a Designer Guild community in KMS2 called MSG.
But you're not really here to get to know me are you?
You're here for the guide!
This guide will help you understand the basic concepts on creating a
User-Generated Content in Maplestory 2.
(I will be referring it as UGC here on out.)
In the Maplestory 2 world, UGC is a term used to describe
user created “skinned” or “mapped” content. (If we are being technical)
Nexon simply calls it: Outfit Designing.
I will be covering the basic fundamentals one should know to ease the creation process.
If you have no prior knowledge regarding custom mapping, don’t worry!
This is the "Creating UGC with Photoshop" guide for Maplestory 2.
(Detailed Beginner's Edition)
For this tutorial, we will be creating a brand new, never-before seen,
your very own, custom design.
First we will need a basic template.
You can find the templates on many community sites.
If you want everything that's been released so far from OBT and CBT,
there is a post regarding that in my blog, provided by OrangeMushroom.
(You can find my blog in my profile page or my signature.)
For the sake of this tutorial, I will be creating an
Island Design brand shirt, using the T-Shirt (M) template.
The templates looks something like this:
----------------------------------------------------------------------------------------------------------------------------------
So now we have the template saved onto our hard-drive,
Lets open it up inside Photoshop

Before we start editing and creating our outfit,
it is recommended that you save the project as a Photoshop file. (.PSD)
The reason we do this is: Once we complete our shirt,
we can always come back and open the .PSD file to make adjustments
or branch off from that design and also change the colors for variations.
After saving the project, we will proceed!
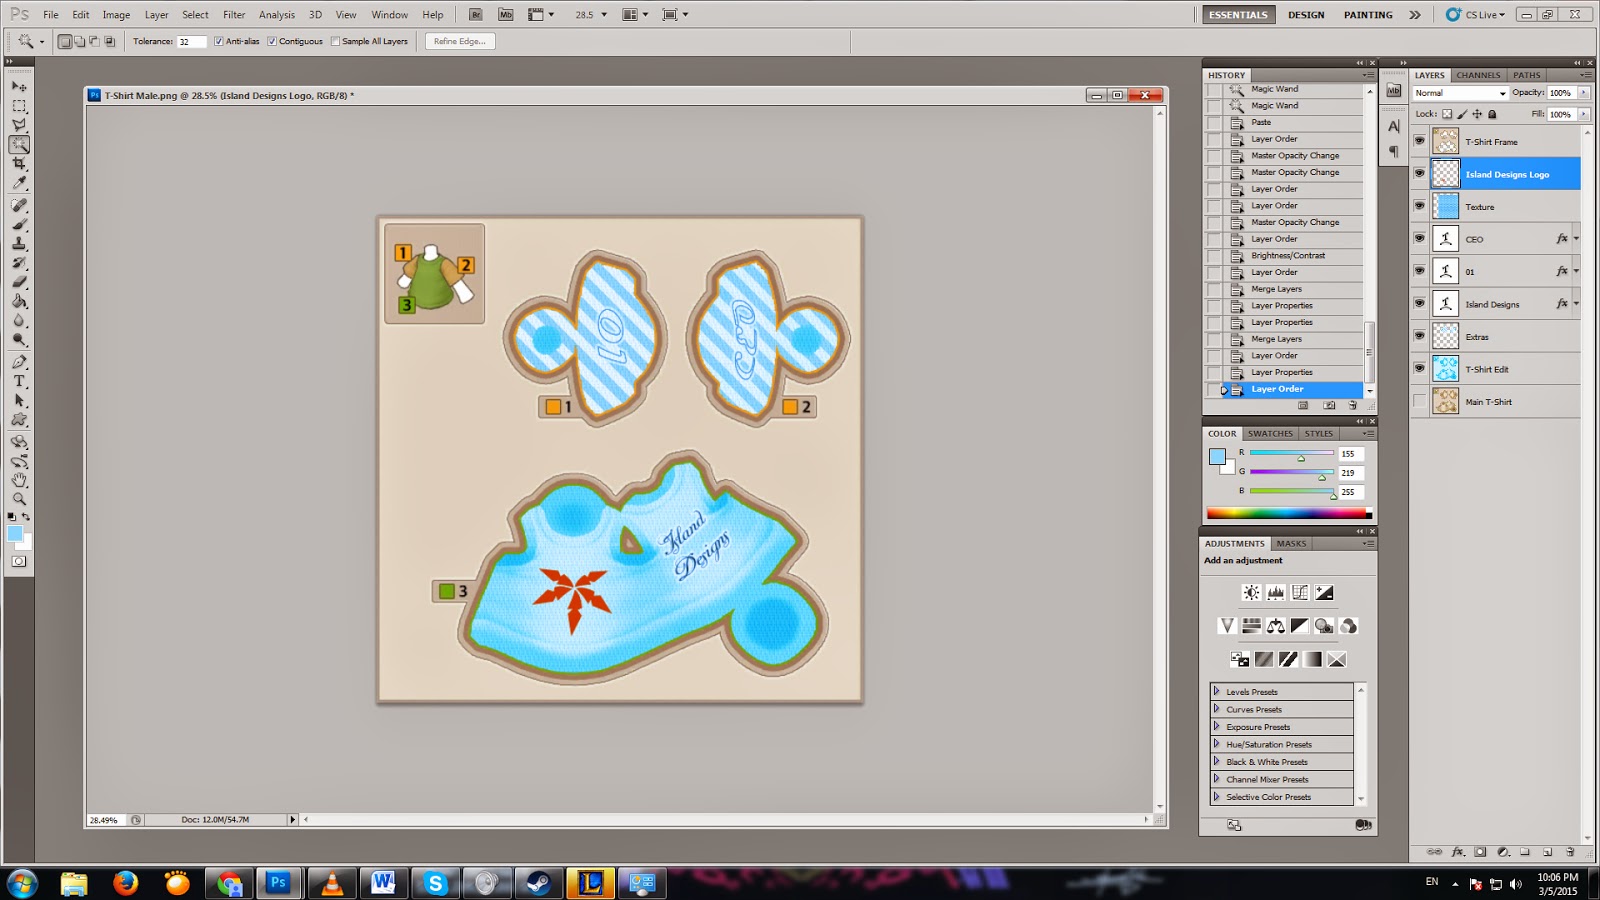
Now we will need to rename and duplicate our "Layer 0" layer.
- Right-click on "Layer 0" inside the layers window. (on the right side)
- Select : "Layer Properties..." and rename the layer to something like "Main T-Shirt"
- Next right-click on the layer one more time, and select :
"Duplicate Layer..." You should rename this layer as well. I will rename the duplicated layer as "T-Shirt Edit"
You have something like this:

Now want to clean up the basic template to help us along the way.
We will upscale the image size to help us better edit the "pixels" and have more accurate results. (Not required, but recommended)
We will upscale the image size to help us better edit the "pixels" and have more accurate results. (Not required, but recommended)
- Right-click the main edit window bar and select: "Image Size..."
- Upscale using the boxes.
I suggest 1024 x 1024, or 2048 x 2048.
(I tend to be a super quality freak so I upscale to 4096 x 4096.
This is overkill, and takes up a lot of .psd file size and memory usage.)

For now lets upscale it to 2048 x 2048.
Once you click OK, you will notice that your image is too big!
You can adjust the zoom ratio of the image by holding ALT + Scroll Up/Down.
Now lets dissect our image to help us edit easier in the future.
- Duplicate the layer "T-Shirt Edit" and name it "T-Shirt Frame"
- Click on the Magic Wand Tool (or press W) and your cursor will change.
- With the layer "T-Shirt Frame" selected, click the inside part of the T-Shirt on the Edit Window.
- Once you see the "marching ants" around parts of your image, you are doing the right thing!

Good job!
However, if we continue as of right now, it would not be clean enough for us to use!
You will need to select all the areas within the "ORANGE and GREEN" outlines.
However, if we continue as of right now, it would not be clean enough for us to use!
You will need to select all the areas within the "ORANGE and GREEN" outlines.
- With the initial marching ants showing, hold SHIFT
- Your Magic Wand tool will now have a Plus symbol under it.
- Continue to hold SHIFT, and click on all the areas you want to include to the selection.

By holding SHIFT, it adds the additional areas to the selection.
Inversely, if you hold ALT, it deselected the areas.
Now if you select the additional areas, we will get something like this:
- With the "T-Shirt Frame" layer still selected, press the DELETE key.
Nothing seems to have changed...?
That's because the selected areas that you have deleted is
reinforced by the layer "T-Shirt Edit" and "T-Shirt Main."
That's because the selected areas that you have deleted is
reinforced by the layer "T-Shirt Edit" and "T-Shirt Main."
- To see the actual results, press the Eye symbol next to the layers "T-Shirt Edit" and "T-Shirt Main."
(This will essentially "hide" the layers from visibility.
Now you will see that only the layer "T-Shirt Frame" is showing and the once deleted areas are showing transparency!
Make sure you save!!!!
----------------------------------------------------------------------------------------------------------------------------------
2. Adding color to the custom shirt
Now lets change the color of the shirt!
First we need to make it Black and White.
(We do this because once we start changing the actual color,
we don't want "Mixed colors" created by the mixture of original color
of the template file and the desired color we are choosing.)
First we need to make it Black and White.
(We do this because once we start changing the actual color,
we don't want "Mixed colors" created by the mixture of original color
of the template file and the desired color we are choosing.)
- Get rid of the marching ants by clicking INSIDE the marching ants selection with the Magic Wand Tool.
- Select the "T-Shirt Edit" layer and make it visible again by enabling the Eye symbol.
- Now go to "Image > Adjustments > Black & White."
- Select the Default preset, and click OK.

- Now go to back to "Image > Adjustments..." and select "Hue/Saturation."
- Inside the Hue/Saturation window, click on the check box labeled "Colorize."
- Using the Hue, Saturation, and Lightness tools, adjust accordingly for your color selection.
I will make my shirt Light Blue!

We have color folks!
SAVE!!
----------------------------------------------------------------------------------------------------------------------------------
SAVE!!
----------------------------------------------------------------------------------------------------------------------------------
3. Adding texture to increase quality
So far we have color!
But we need to make this more approachable and increase some quality!
I am thinking... lets add some cotton thread feel to the shirt.
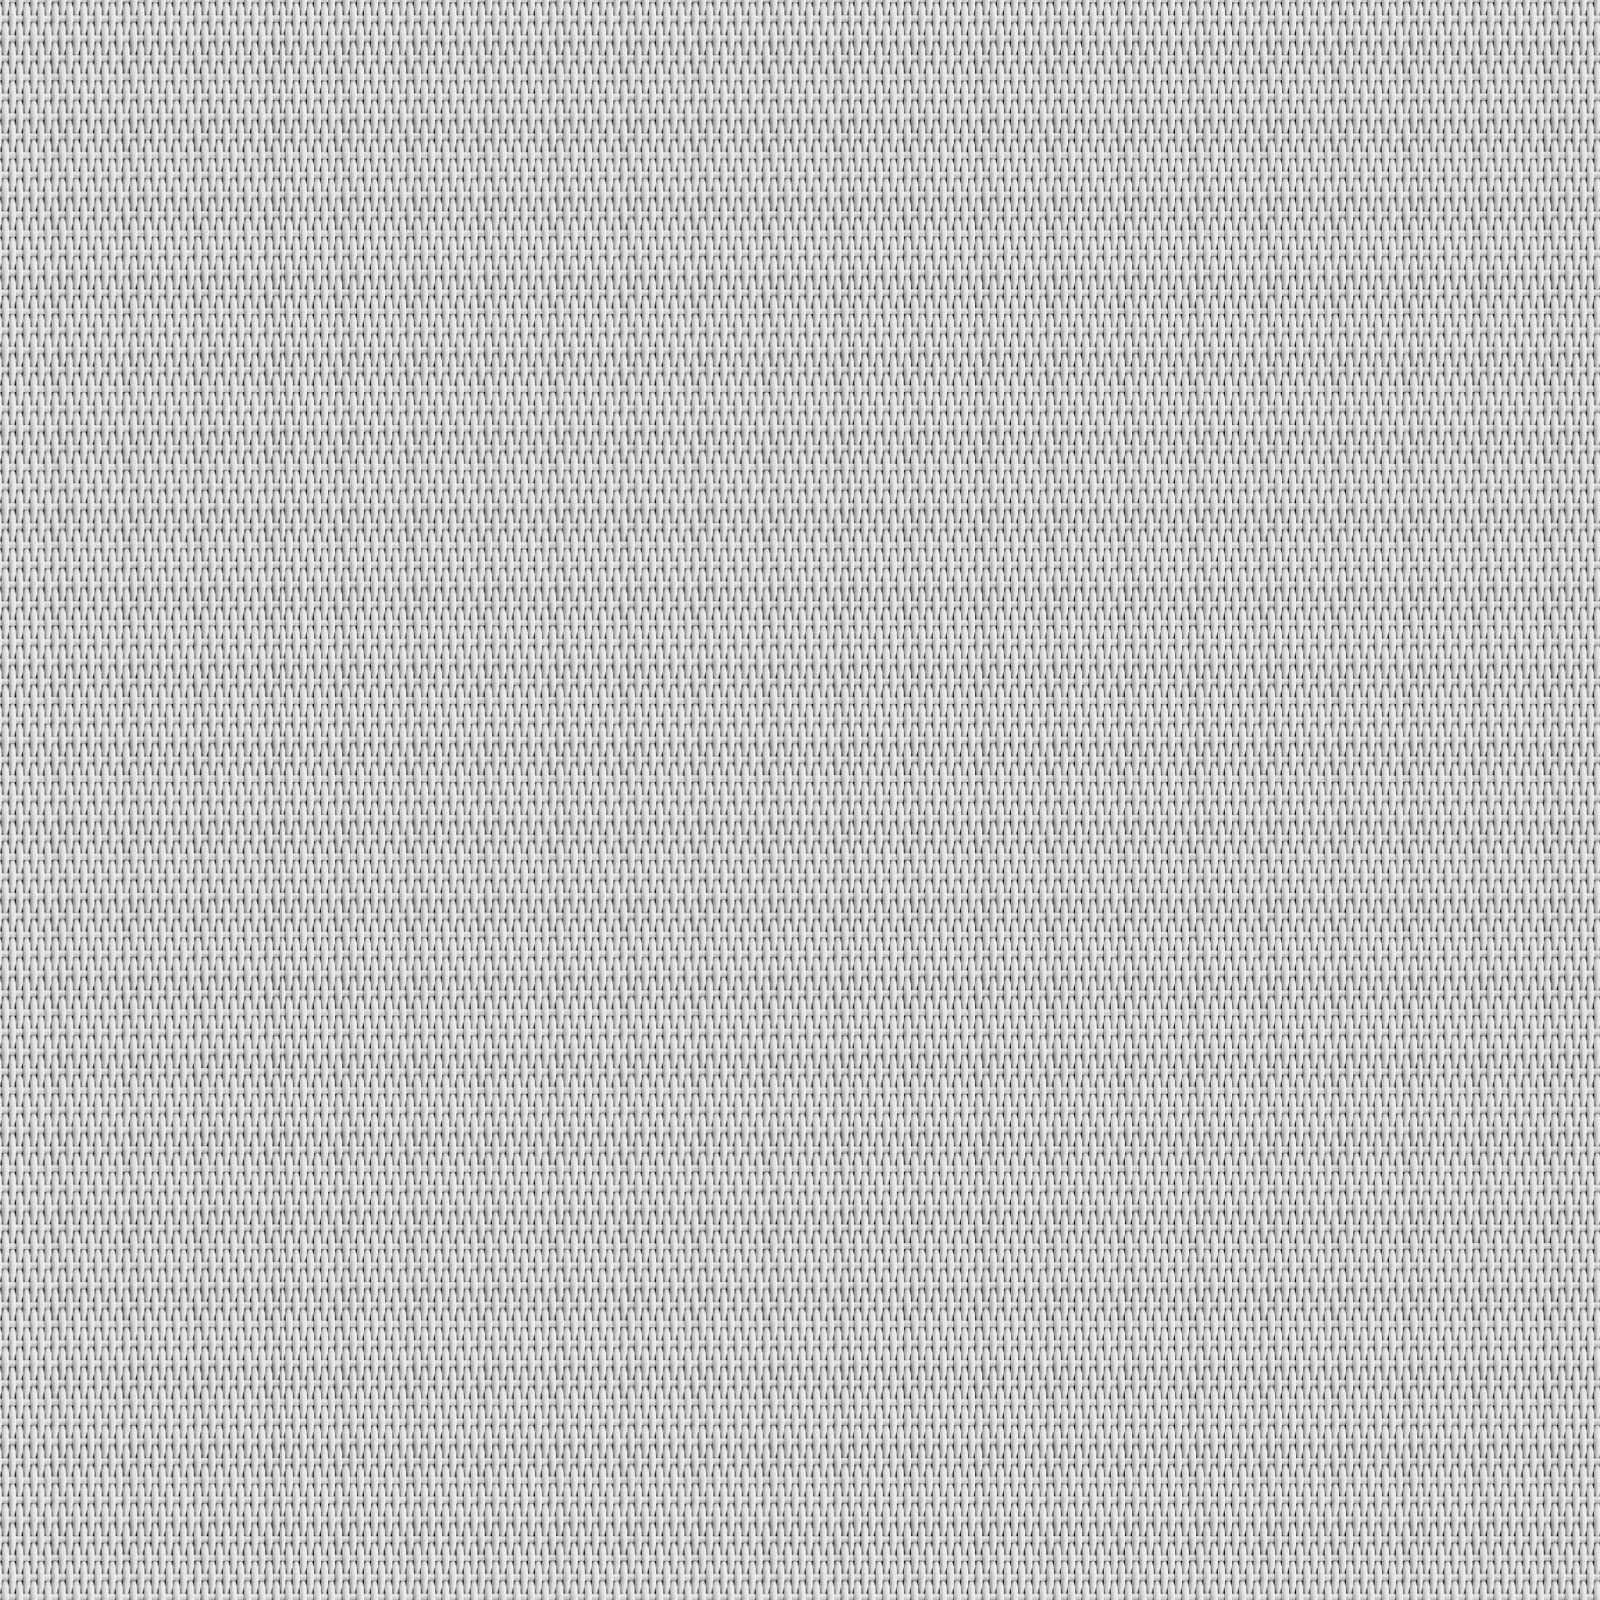
Go to your most favorite search engine and look for an image file.
Lets search for... "Cotton thread texture..."
Here's one I found
Now lets open this file inside Photoshop to apply it to our T-Shirt!
Once you open it, You will see an additional Tab, inside your edit window.
Just move this tab out and you can edit the two files separately!
NOTE:
The two files currently opened, will have their own layers and settings.
Essentially, you are editing both at the same time, simultaneously.

Now lets apply the texture!
- Click on the newly opened texture edit window, and select the Move Tool. (or press V)
- Once your cursor changes, simply click-and-drag the texture layer to the T-Shirt Project!
- After its been moved, you will notice that inside the T-Shirt project layers tab, a new layer was created, which is identical to the layer we dragged from the texture project window.
- Now you can freely move the texture layer within the T-Shirt Project using the move key.You can close the Texture Project window. We will not be using it any longer.

So far so good!
However... the texture layer we copied over is covering out T-Shirt!
There are many ways to create effects to give realitic quality to the project,
but for now, we will use the simplest method.
However... the texture layer we copied over is covering out T-Shirt!
There are many ways to create effects to give realitic quality to the project,
but for now, we will use the simplest method.
- With the texture layer selected "Layer 1", Adjust the Fill and Opacity sliders above the layers.
(This will create an effect to visually merge the texture and the T-Shirt itself.
It looks good enough for a simple shirt!
Let's move onto the next section.
Let's move onto the next section.
SAVE SAVE!
----------------------------------------------------------------------------------------------------------------------------------
4. Adding personal Logo/Images
This section is completely identical with section
3. Adding texture to increase quality.
However, sometimes searching for an image,
often times comes as a .jpg file, and the backgrounds have colors.
Therefore, we will utilize what we learned in
Section 1. Basic set-up & cleaning the template
&
Section 3. Adding texture to increase quality
3. Adding texture to increase quality.
However, sometimes searching for an image,
often times comes as a .jpg file, and the backgrounds have colors.
Therefore, we will utilize what we learned in
Section 1. Basic set-up & cleaning the template
&
Section 3. Adding texture to increase quality
- Open an image file you want to add to the shirt in Photoshop.
- Using the steps learned in Section 1. Basic set-up & cleaning the template, clean up the unwanted sections of the image using the Magic Wand Tool and delete the undesirable background.
- Using the steps learned in Section 3. Adding texture to increase quality, move the new image onto our T-Shirt project.

The image has been transferred over!
But the image looks a little too big...
Shall we adjust the size?
But the image looks a little too big...
Shall we adjust the size?
- With the new layer selected "Island Designs Logo/image layer name", activate the Transform function by pressing CNTRL + T.
- You can now re-size, and rotate the image to your preference.
TIP: If you hold the SHIFT key while dragging one of the corner points, it will retain the aspect ratio. - You can also move the image around with your mouse or simply using the arrow keys.
- Once you are satisfied, Press the Enter Key.

You can now edit everything to your liking and add images to your shirt!
From this point on, the sky is the limit!
You can also use the Text tool too add words for yourself!
This is my rough Finish:
Y U NO SAVE?!
----------------------------------------------------------------------------------------------------------------------------------
From this point on, the sky is the limit!
You can also use the Text tool too add words for yourself!
This is my rough Finish:
Y U NO SAVE?!
----------------------------------------------------------------------------------------------------------------------------------
5. Watermarking
In the artistic world, trademarking and copyrighting are one of the
most important things you should always embody with your work.
For works like the UGC in Maplestory 2,
it is essential that you include what is known as Watermarking.
It's to put your signature across an image file, to combat plagiarism.
To create a Watermarking effect on Photoshop, follow these easy steps:
- Create a new layer by going to "Layer > New > Layer."
- Use the Text tool and write your signature across the image.
- Make sure this layer is placed above all the other layers to give it priority.
(Done by dragging the said layer, and placing it on top of the layers window.) - Adjust the Opacity value to your preference!

Must I say it again bruhh?
SAVE!
----------------------------------------------------------------------------------------------------------------------------------
6. Finishing up & saving the file
- When you are finished with the editing, save the .psd file again.
(by saving the file as .psd, you can always come back to this file to edit it again, or change colors etc.) - Remember when we up-scaled the template file?
Let's downscale it to the original file size.
Right-click on top of your edit window go to "Image Size" and change the dimensions back to 512 x 512. - Now go to "File > Save as ..."
- Change the format to .PNG file.
Give a name to your file, and Viola! You Are FINITO!
Before:
![[IMG]](https://lh3.googleusercontent.com/blogger_img_proxy/AEn0k_sB-lDVr8odyf2MbXDfMTUzLFOUsUnJjcdbRIiV_JN_nWgkaIvKCtdoi6Vb2TgsF_0W8j6pxy04c2UpAE_MiLpO=s0-d)
After:
![[IMG]](https://lh3.googleusercontent.com/blogger_img_proxy/AEn0k_v5cqPZ_vvq9m5wjiQBlsyqTFC7ntfNIqoYySLBEU3av3oym1LvJLHX2gfuYbWJw-sONzCjuSmbEi7Gb2Z1a3DL6jNdu-C0r8q_IsQNCp_JY7BnWIuChVAwOI7x3B3owuX1QhibODf-KOc=s0-d)
There you have it!
Your very own UGC Design!
----------------------------------------------------------------------------------------------------------------------------------
7. Final words
Hopefully, you now have the basic idea on creating your own UGC.
This may be easy for some, and very difficult for others.
But don't be discouraged!
Only practice makes perfect!
Make sure you keep working at it, until you create a master-piece!
If you have ANY questions, please don't hesitate to ask!
I will try to answer to my best knowledge.
Also if you would like to share your thoughts on improving the guide, or my blog
Please!! let me know!
It's been my pleasure to share my limited knowledge with everyone.
Until next time!
Island
No comments:
Post a Comment